Get started
Getting started with Teleoscope is easy! This guide will help you to sign up for Teleoscope and upload your first dataset.
1. Sign Up
Start by navigating to teleoscope.ca (opens in a new tab). You can sign up with an email and password. Later, you'll be able to add more emails to your account and manage other people on your team.
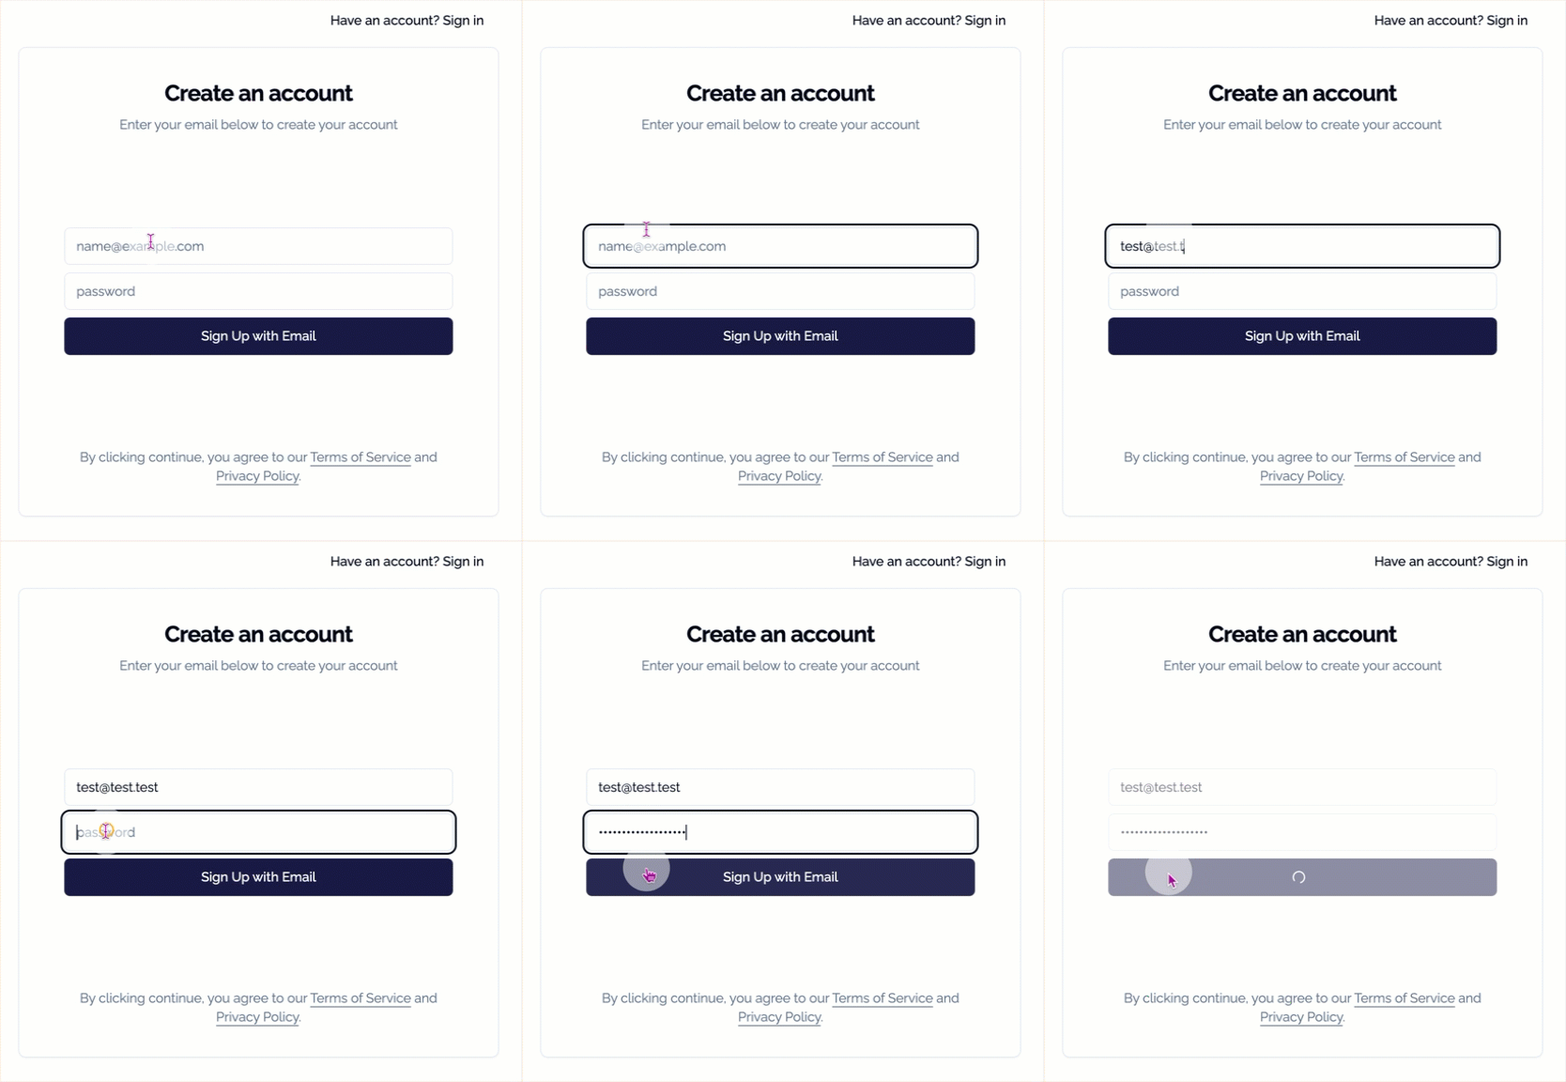 Click on the Get Started button. Enter your email address and a secure password.
Make a Workspace
2. Use the default Workspace
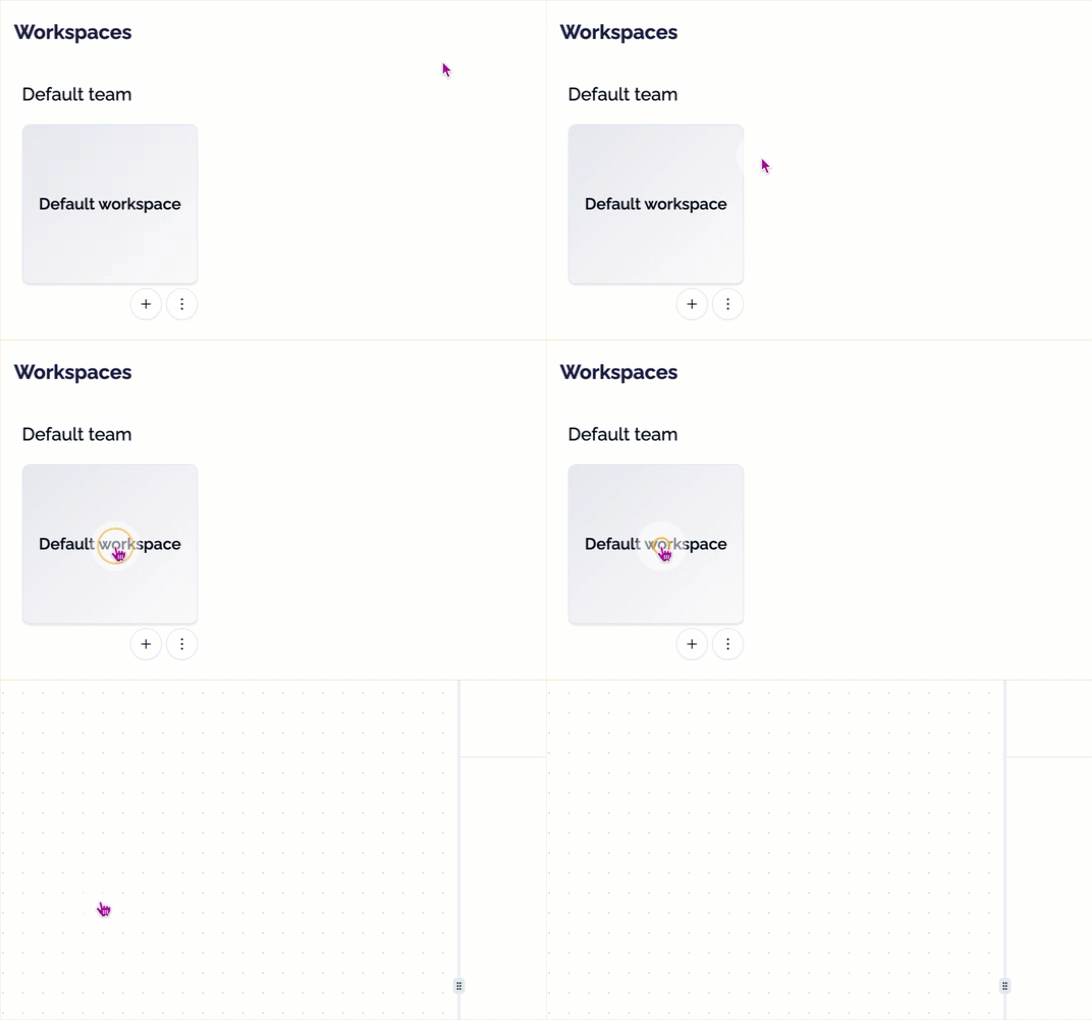
Workspaces contain your data and give you a place to organize and explore. You can upload your data to a workspace, add collaborators to the workspace, and create workflows to process your data. If you want to get started right away, you can simply click on the Default Workspace. A default workspace is automatically created for you on your default team when you sign up. You can create more workspaces if you want to manage different projects.
3. Create a new Workspace
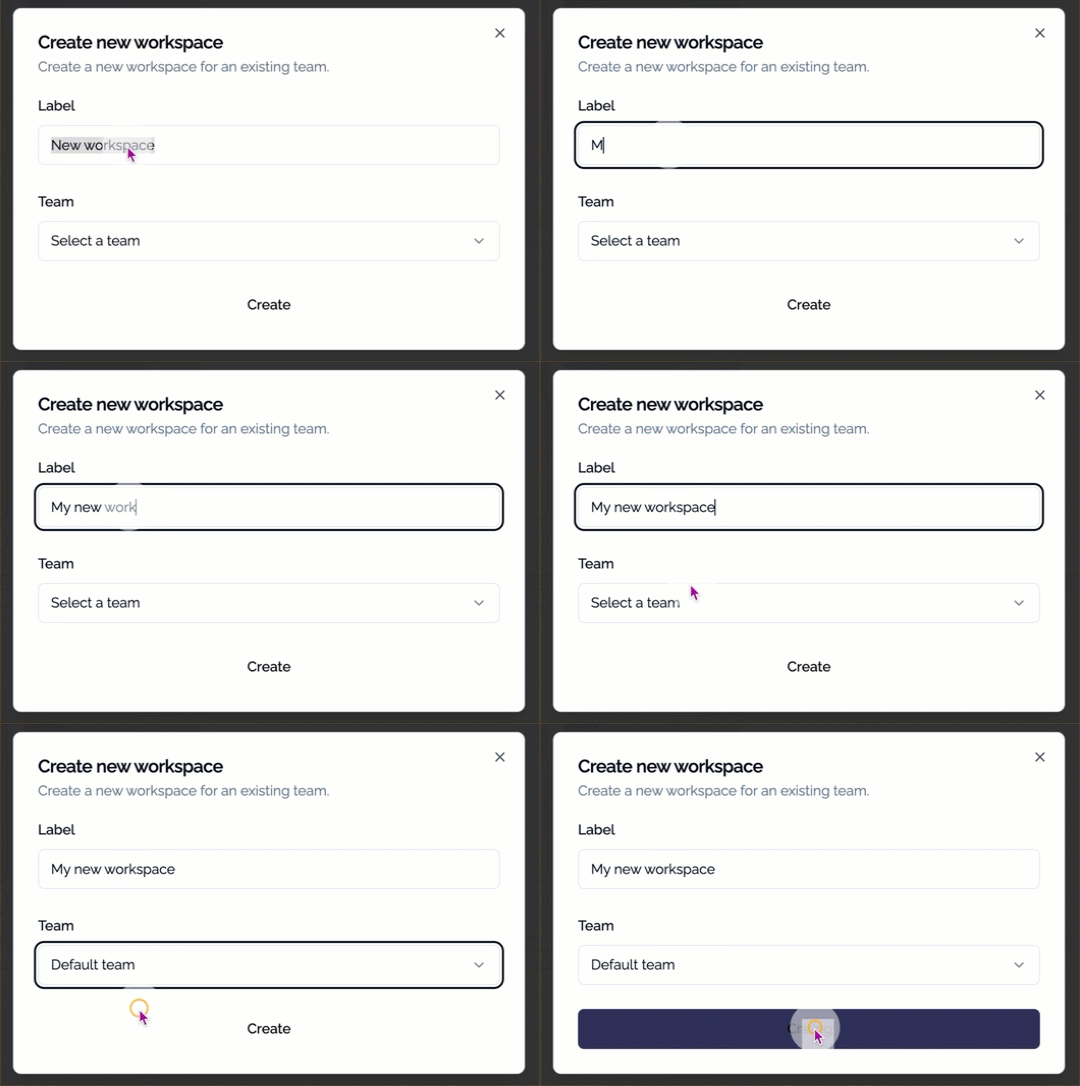
You can create a new workspace to hold new datasets or to have different collaborators from the same team. As the person who made the account, you can decide which team members are allowed to access each workspace. This helps you to manage the privacy of your data.
Organize your data
4. Upload your data
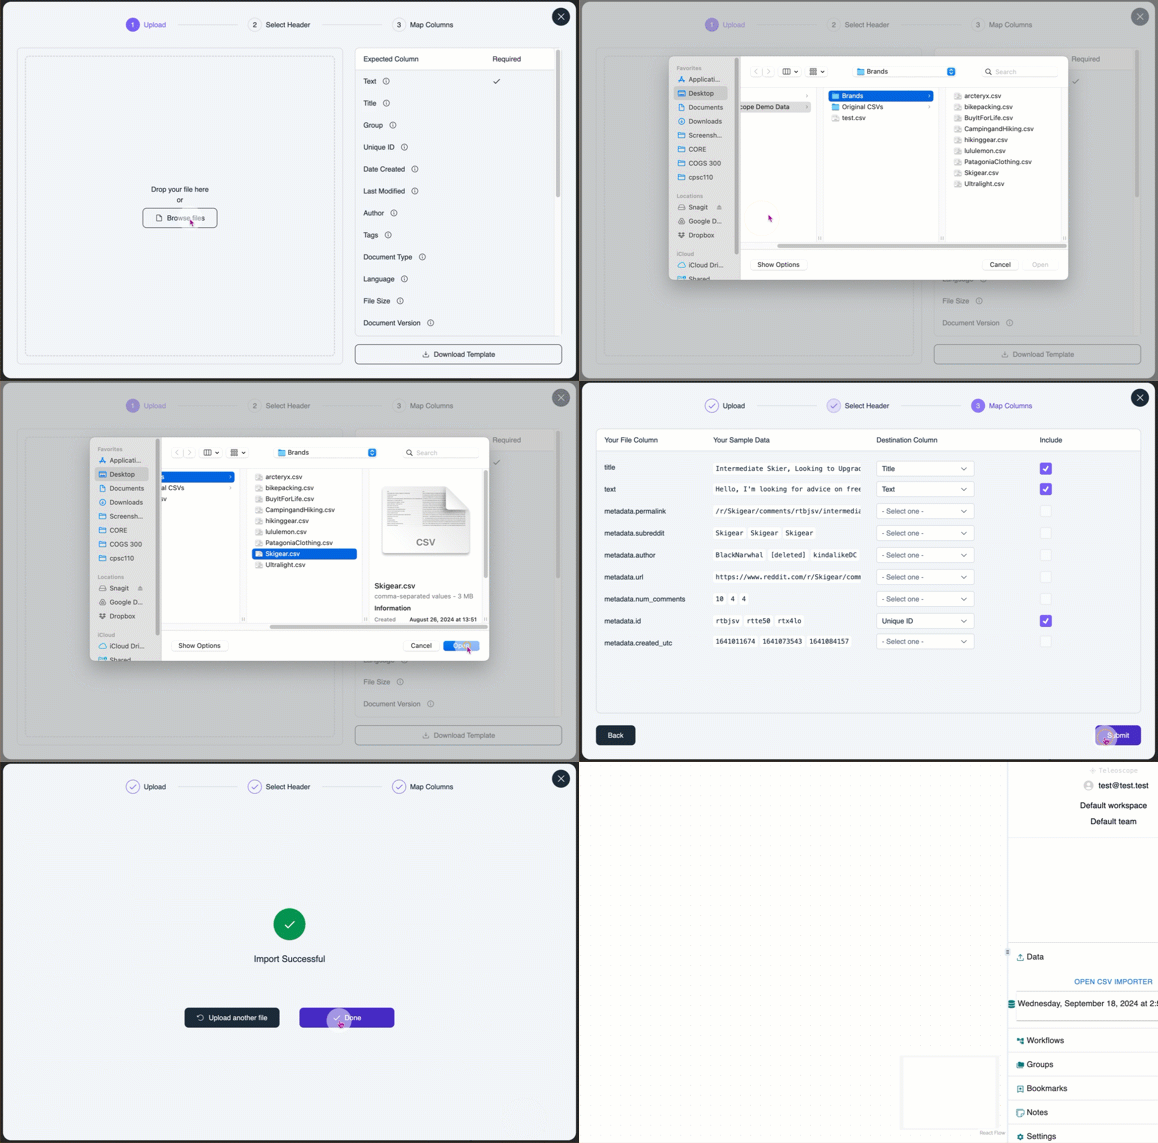
Use the importer window to upload data to your Teleoscope workspace.
Select the .csv file from your file system that you would like to upload.
Select the mapping between the names of your columns in the CSV, and the text, title and metadata columns in Teleoscope.
5. Arrange your data
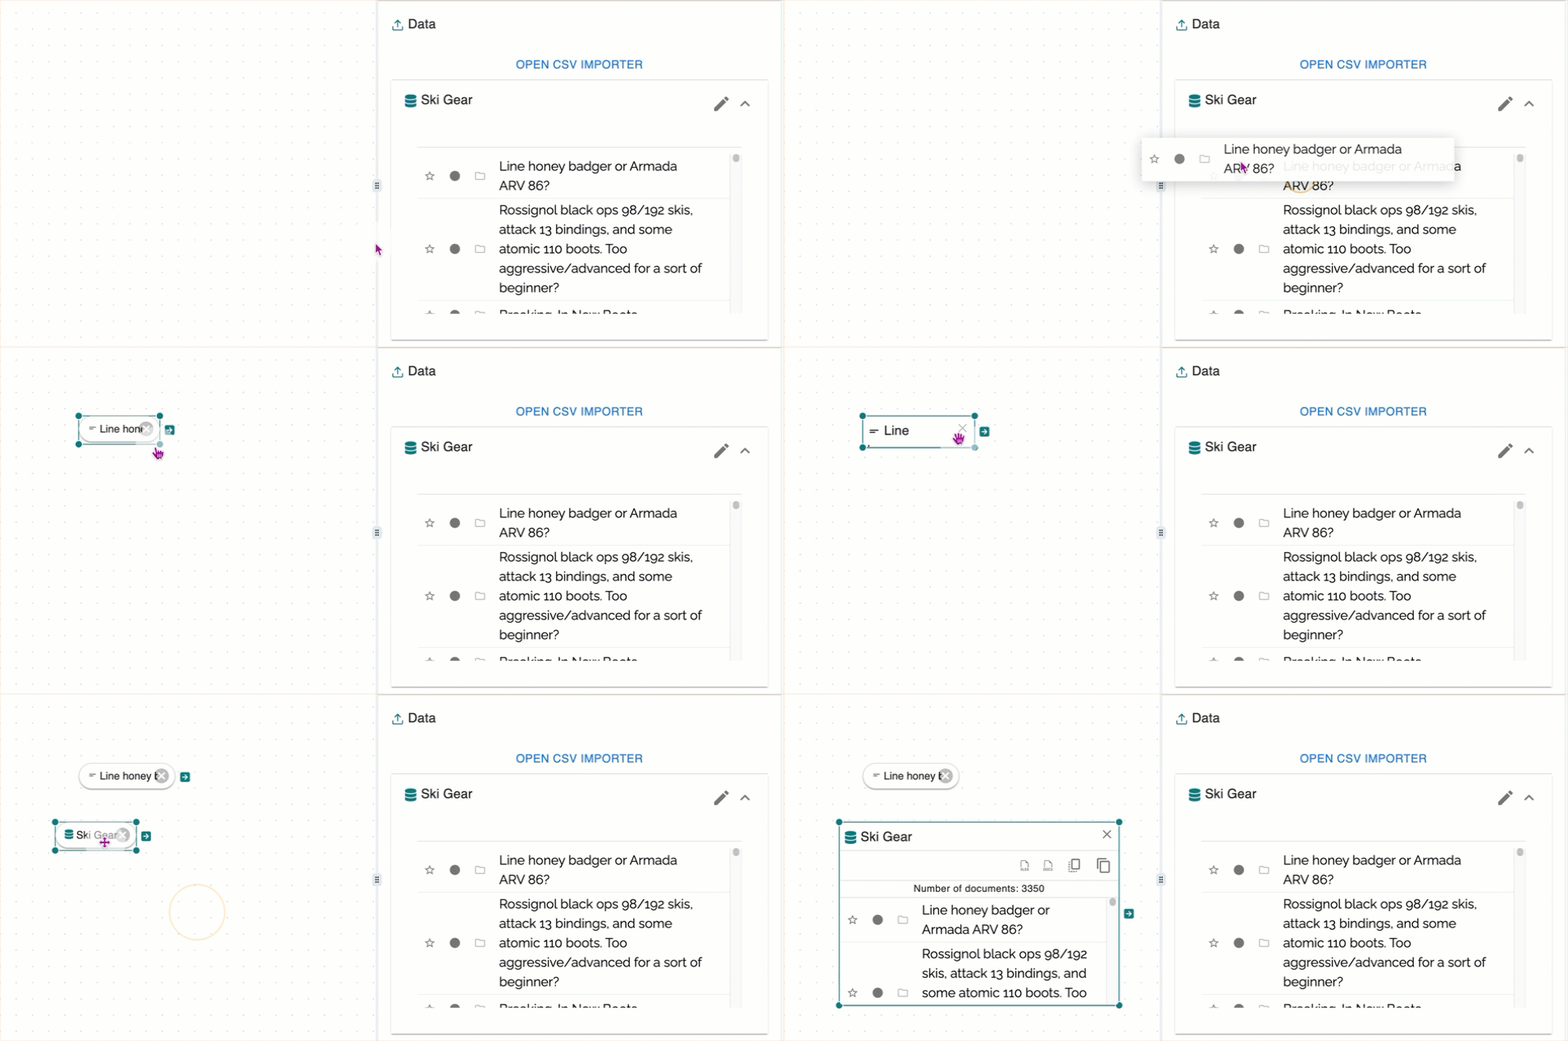
Drag your data out to the workspace to arrange it. You can resize a document to read it, or keep it small to keep the workspace organized.
6. Browse your data
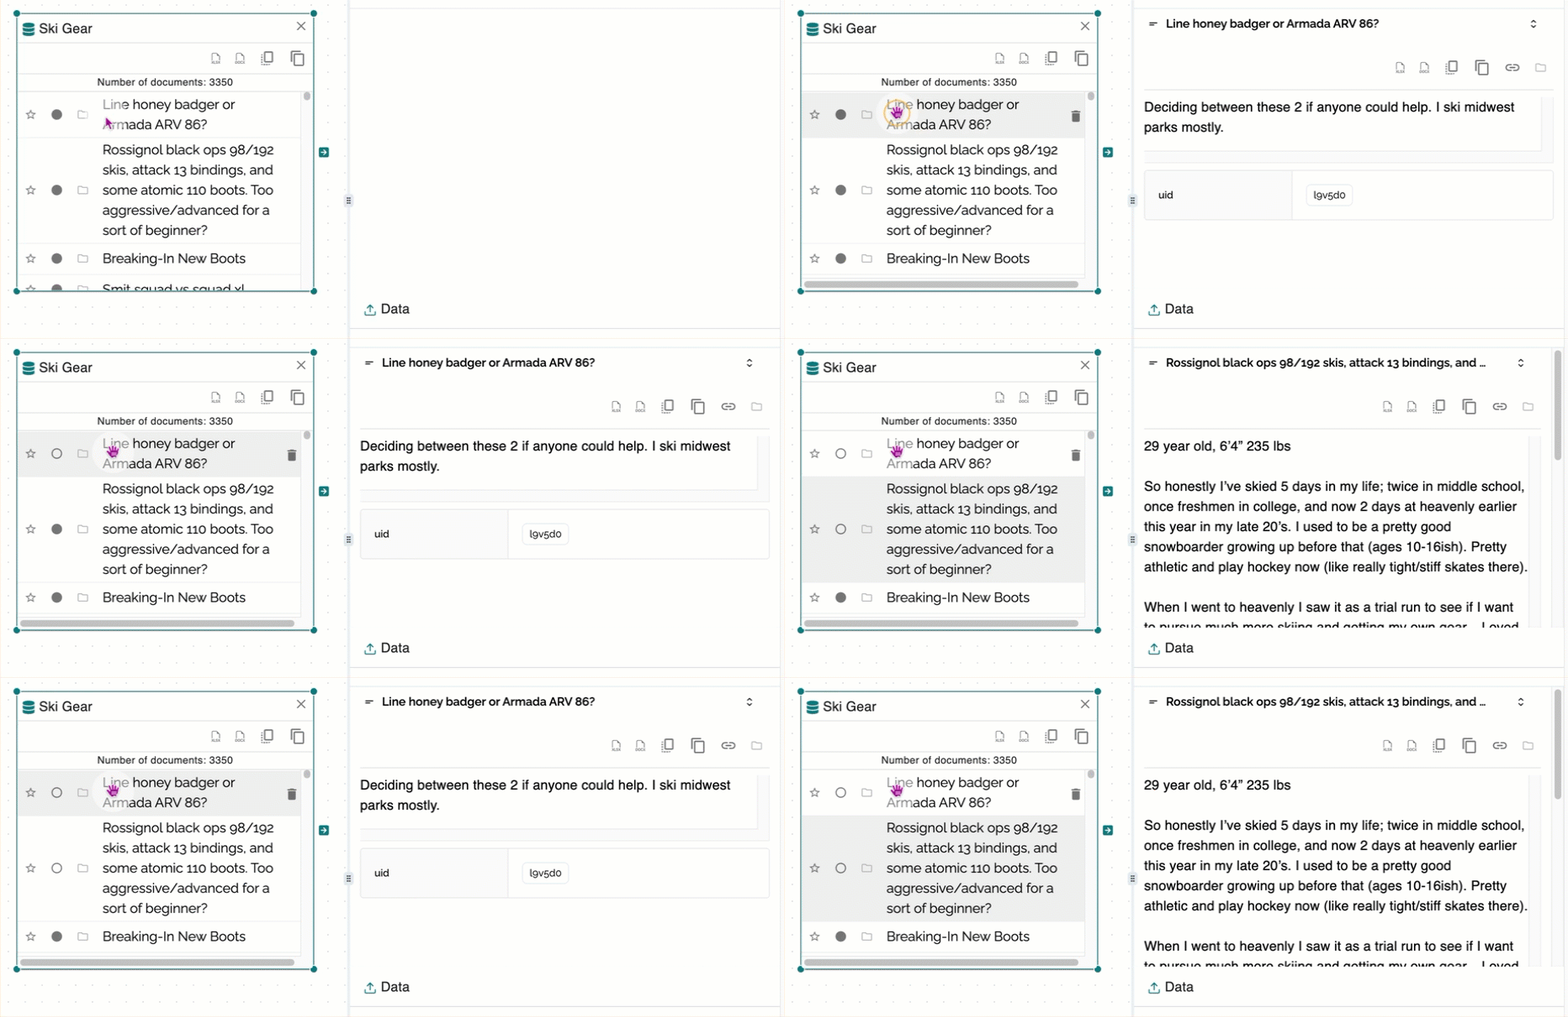
Use the arrow keys to browser through your data and quickly.
Use up ⬆️ or down ⬇️ to navigate the search results and Enter to bookmark.